Smartion
Smartion Setup & Installation

Set up smarter tech with less friction.

A practical installation guide for Smartion charging, audio, wearable, mobile, and smart home products. Start with the essentials, follow the correct connection order, and use the category-specific checks before troubleshooting.

01 Verify power, ports, and included accessories
02 Install hardware before opening companion apps
03 Test the full setup before final placement
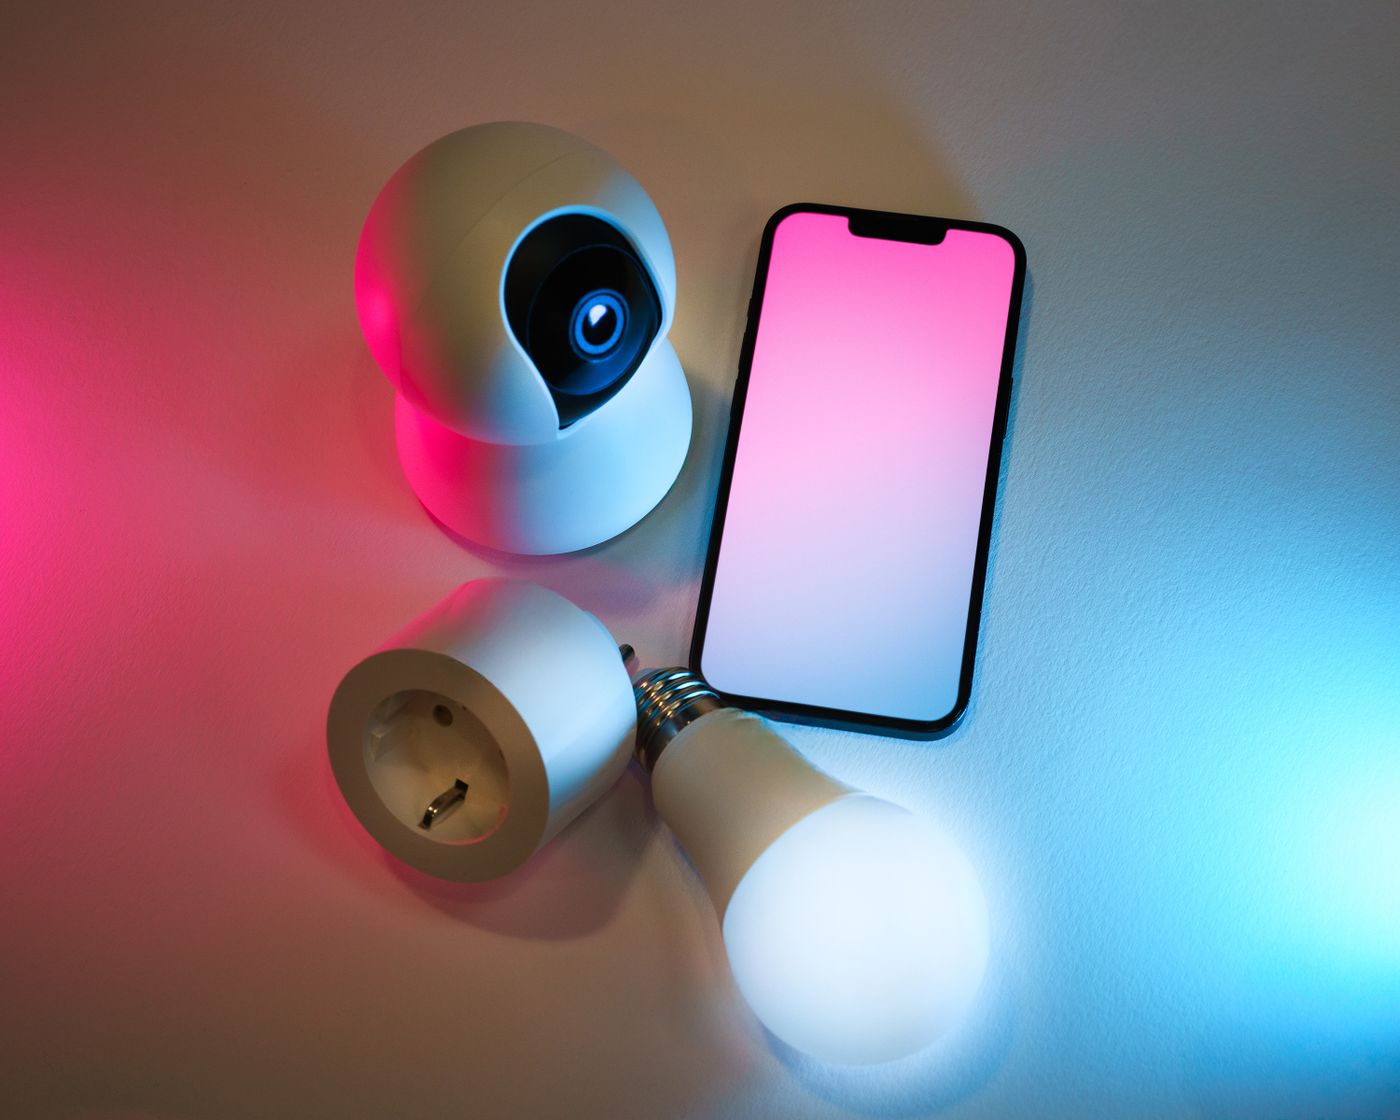
Smart home devices being controlled with a mobile phone
Install in the right order Power first, hardware second, network third, app pairing last.
Use the product manual Model-specific instructions always take priority.
Confirm compatibility Check ports, voltage, operating system, and network type.
Keep packaging nearby Labels and model numbers help with pairing and support.
Test before mounting Confirm power, range, audio, video, and app control first.
Before Setup

Prepare the space, device, and connection.

Most setup issues begin with a missing accessory, incompatible port, weak network, or skipped charging step. A two-minute preflight check can prevent repeated resets later.

Preflight Checklist
Ready the essentials

Complete these checks before powering on.

1
Match the power requirements. Verify voltage, wattage, plug type, cable rating, and adapter output before connecting the device.
2
Inspect every included part. Locate cables, mounting plates, fasteners, charging cases, adapters, receivers, and reset tools.
3
Update the controlling device. Install current phone, tablet, computer, app, Bluetooth, and operating system updates when available.
4
Choose a temporary test position. Keep the product close to power and the router until setup, pairing, and firmware checks are complete.
Important Safety Note

Disconnect power before installing wired switches, outlets, permanent fixtures, or any product that requires access to household wiring. Use a qualified professional whenever local codes or product instructions require one.
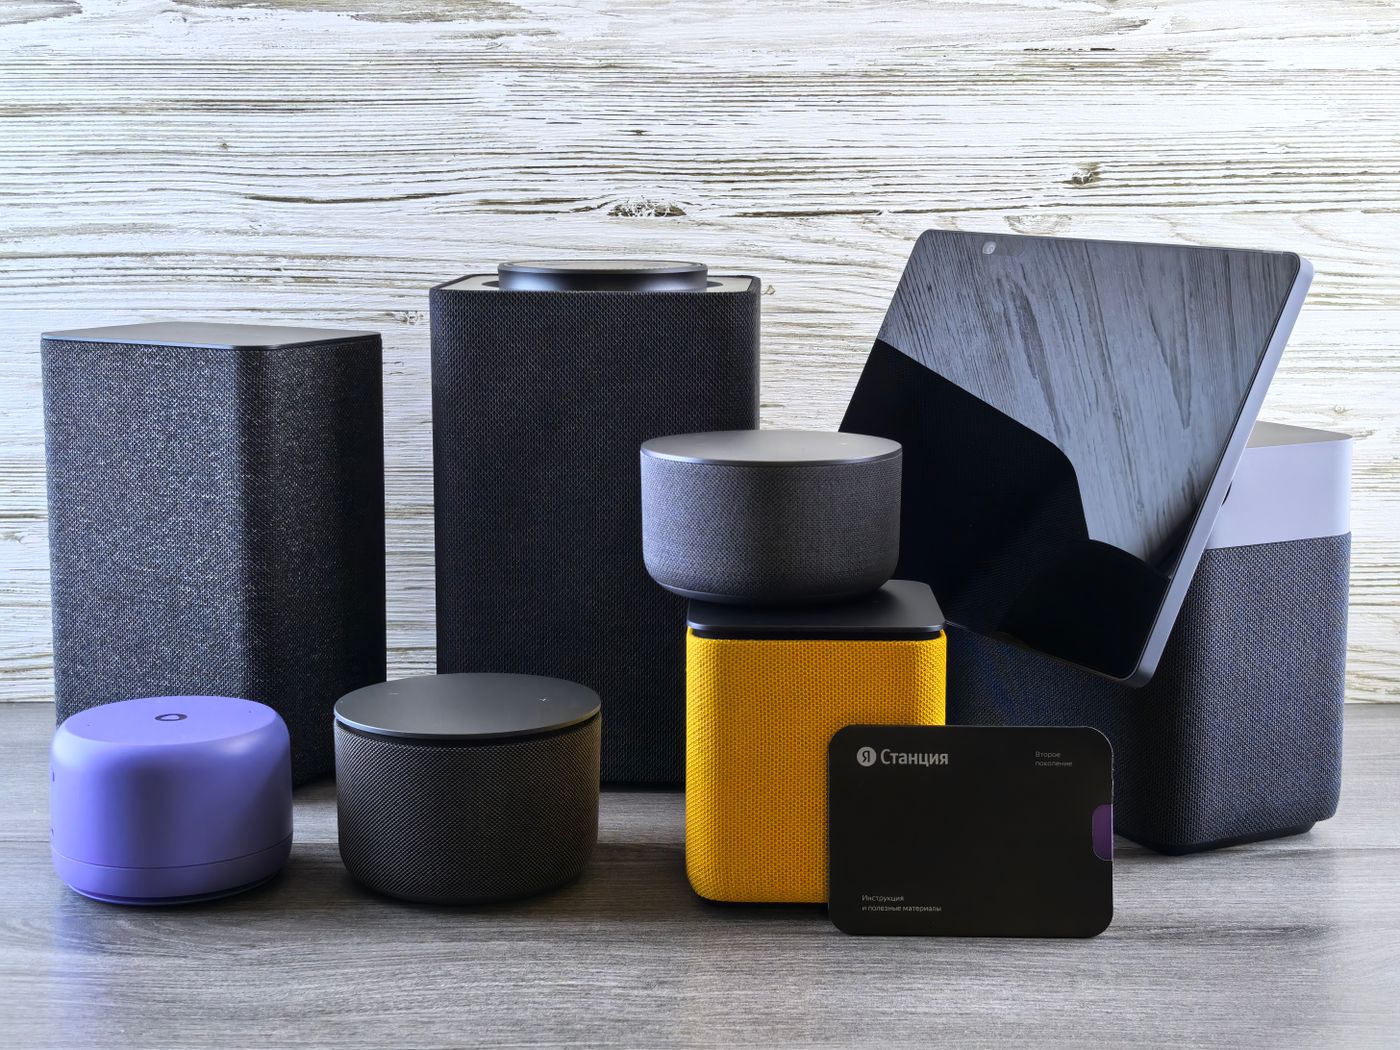
Smart devices arranged for setup on a wooden surface
Keep the model label visible Product names, serial numbers, QR codes, and pairing codes may be needed during setup.
Installation Flow

Follow one reliable sequence.

Use this order for most Smartion products, then apply the category-specific instructions below.

Five Core Steps
Step 01 / Inspect

Confirm the exact model and accessories.

Compare the product, package label, manual, and included parts before installation. Similar products can use different power supplies, pairing methods, or mounting hardware.

  • Check the model name and port layout.
  • Remove protective films and shipping inserts.
  • Do not discard QR labels or pairing cards.
Step 02 / Power

Charge or connect power completely.

Battery-powered products should receive an initial full charge when practical. Plug-in products should use the supplied or correctly rated adapter and cable.

  • Use a stable wall outlet or powered USB port.
  • Allow indicator lights to complete their startup pattern.
  • Avoid low-power hubs during first-time setup.
Step 03 / Install

Place or mount the hardware securely.

Test the device before final mounting. Once performance is confirmed, secure the hardware without blocking vents, sensors, microphones, cameras, buttons, or wireless antennas.

  • Use the correct wall anchors and surface type.
  • Leave cable strain relief and ventilation space.
  • Keep cameras and sensors within their intended field of view.
Step 04 / Connect

Pair Bluetooth, Wi-Fi, or wired data.

Enable only the connection method required by the product. Keep the device nearby, grant necessary permissions, and finish firmware updates before moving it to the final location.

  • Use 2.4 GHz Wi-Fi when the product requires it.
  • Allow Bluetooth, local network, and notification access when needed.
  • Complete app registration before scanning the product code.
Step 05 / Verify

Test every function before daily use.

Confirm charging speed, sound, controls, video, alerts, sensor response, automation, and range. Save settings only after the system performs reliably.

  • Restart the product once after major firmware updates.
  • Test from the normal operating distance.
  • Label cables and store spare accessories together.
Category Setup

Use the right method for each product type.

Smartion products share a common setup logic, but power, audio, mobile, and smart home devices each have different placement and pairing priorities.

Category Guidance
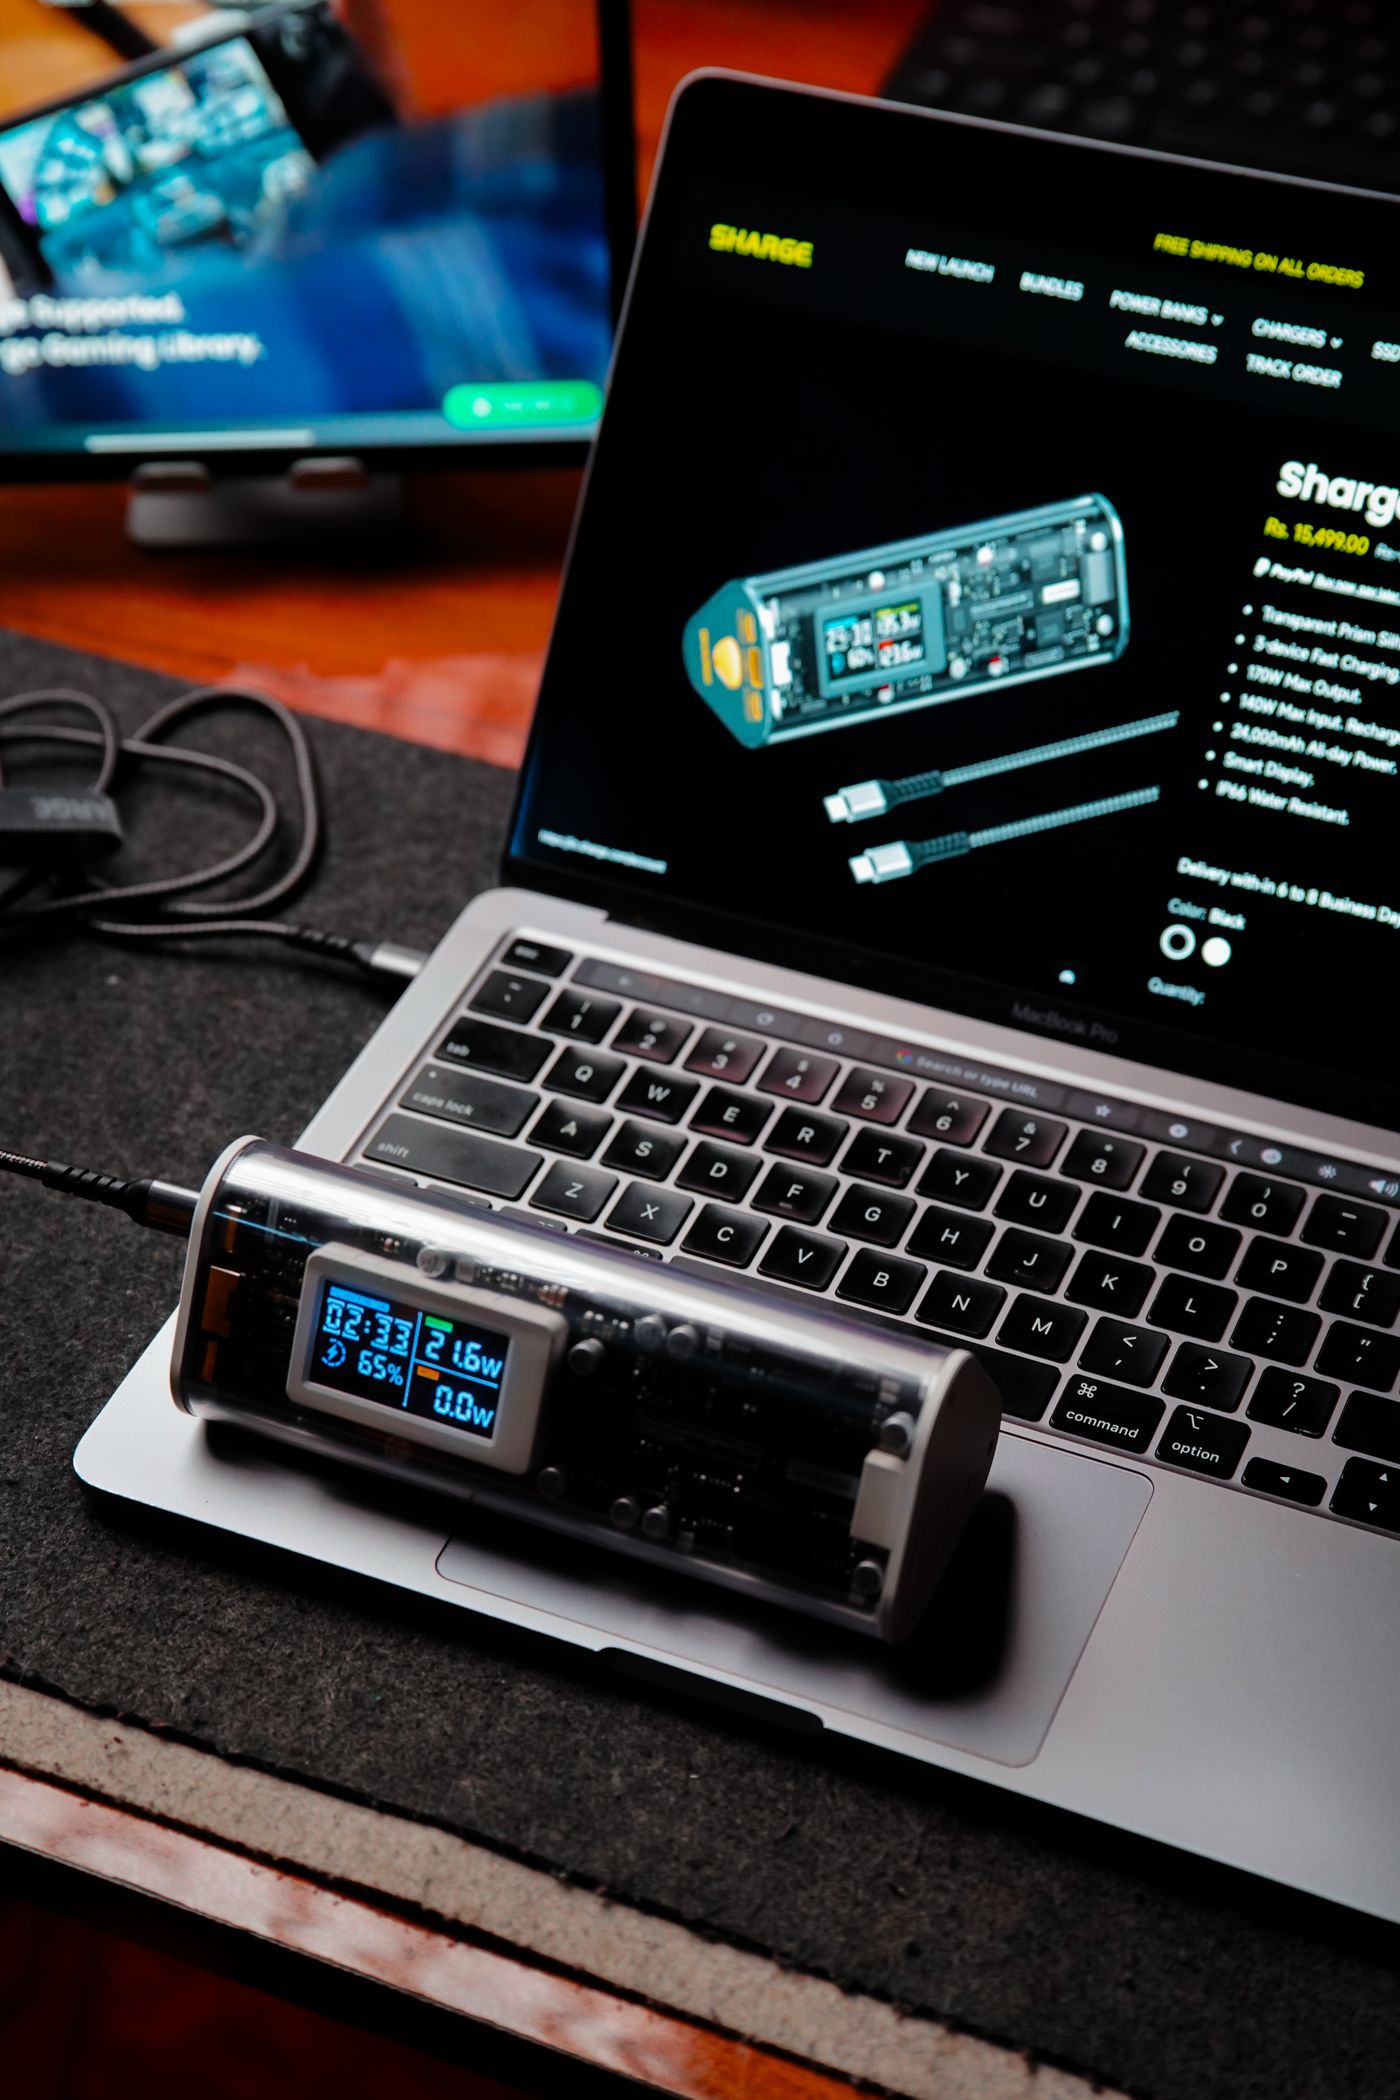
Modern laptop and monitor workspace with connected technology
Power and connectivity Match cable standards, port capabilities, and power delivery before connecting multiple devices.
Mobile Power & Connectivity

Build a stable charging and data path.

Begin with the highest-power source, then connect adapters, hubs, cables, and accessories. Avoid stacking unpowered hubs or using cables that do not support the required charging or data standard.

Fast Chargers & Power Adapters Power Banks & Portable Chargers Wireless Chargers & Charging Stations Charging & Data Cables USB Hubs & Multiport Adapters Travel Adapters & Surge Protectors
PD
Power rule The charger, cable, and receiving device must all support the desired output. The lowest-rated component limits performance.
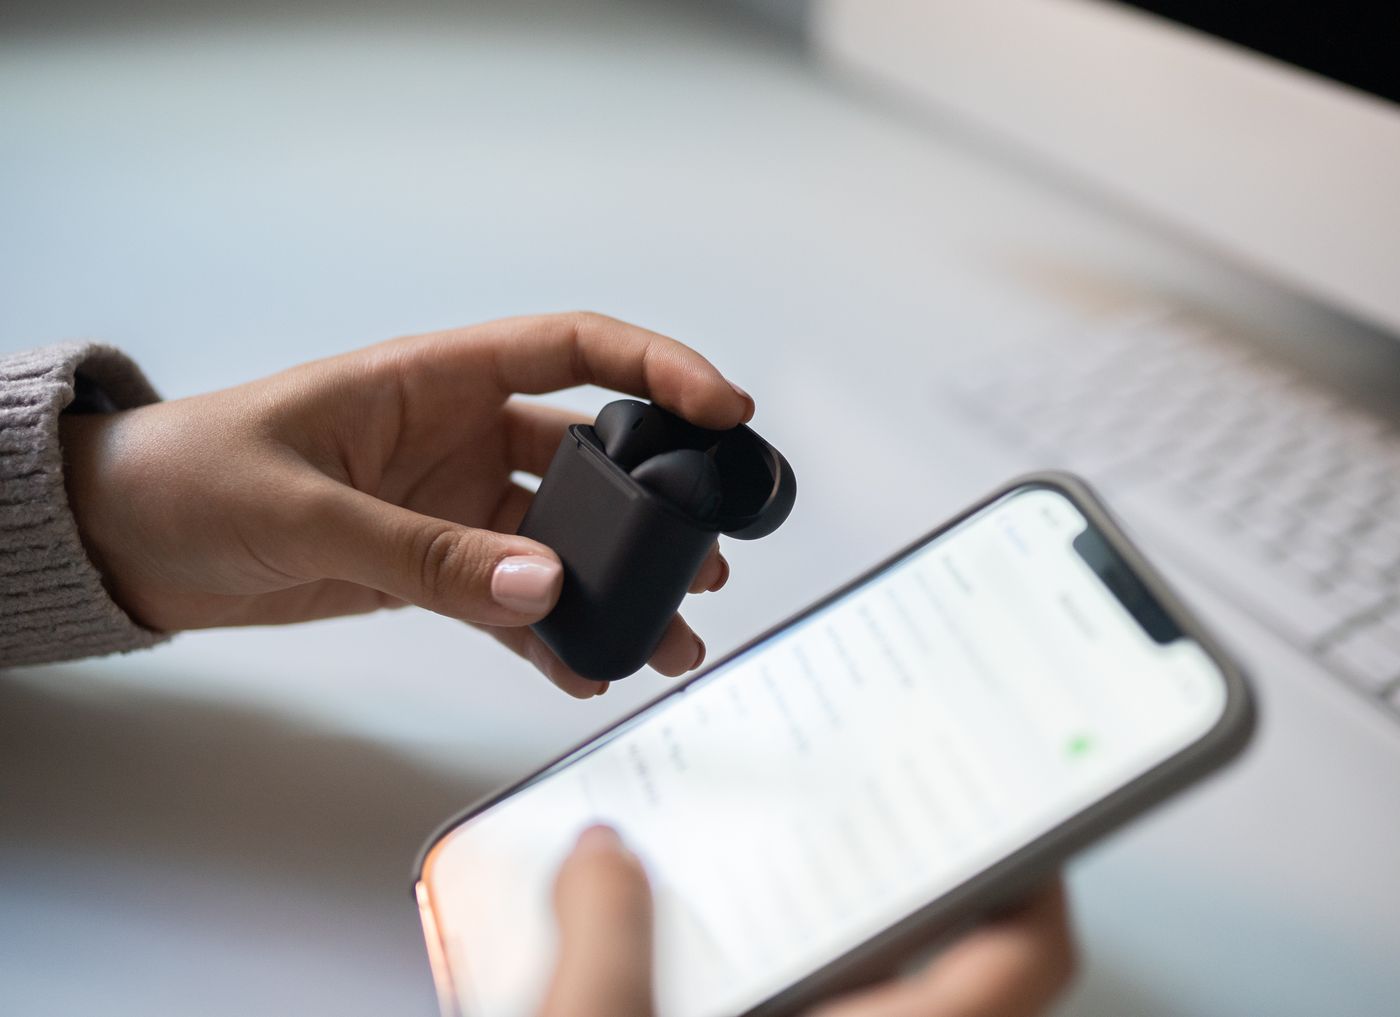
Wireless earphones being paired with a smartphone
Audio and wearable pairing Charge both sides, remove old pairings, and keep the device close during first connection.
Audio, Wearables & Personal Tech

Pair first, personalize second.

Fully charge earbuds, headsets, speakers, controllers, microphones, and wearables. Enter pairing mode, connect through the correct system menu or app, then adjust controls, audio profiles, permissions, and updates.

Wireless Earbuds Headphones & Headsets Bluetooth Speakers Smartwatches & Fitness Trackers Microphones & Creator Accessories Gaming & Mobile Controllers
BT
Bluetooth rule Remove duplicate or previous device entries before resetting. Pair through the companion app only when the manual specifically requires it.
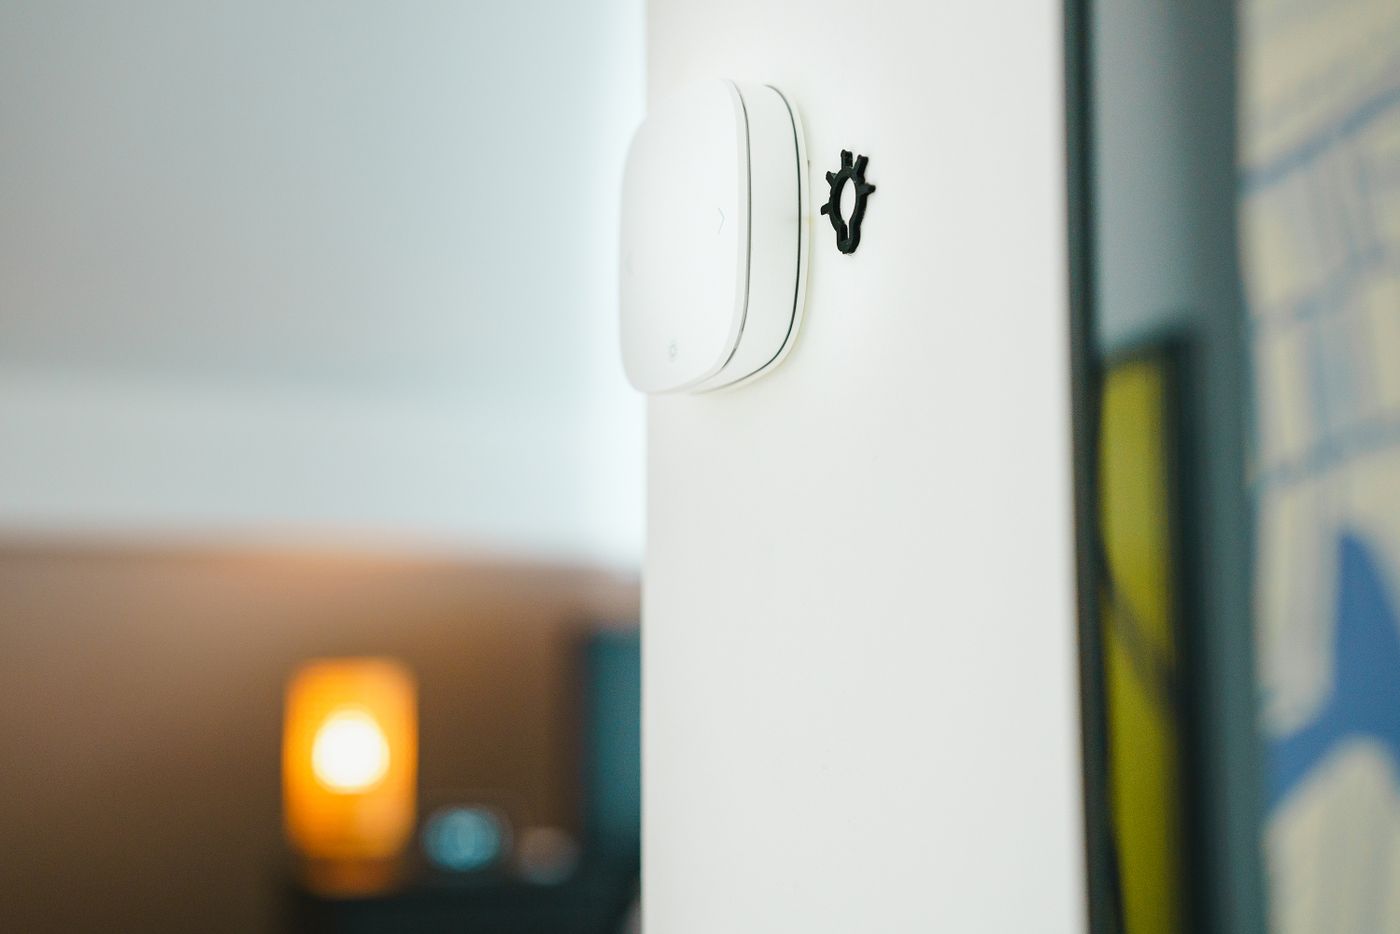
Close-up of a modern smart light switch during installation
Smart home installation Verify wiring, network band, hub requirements, and placement before final mounting.
Smart Home & Everyday Automation

Connect the home before creating automations.

Install one smart product at a time. Confirm reliable manual control, app control, firmware status, and network signal before grouping devices, building scenes, or enabling voice assistants.

Smart Plugs & Power Strips Smart Lighting Security Cameras & Video Doorbells Smart Sensors & Home Alarms Smart Speakers & Displays Smart Trackers & Item Finders
2.4
Network rule Many smart home products use 2.4 GHz Wi-Fi for greater range. Keep the phone and device on the required network during setup.
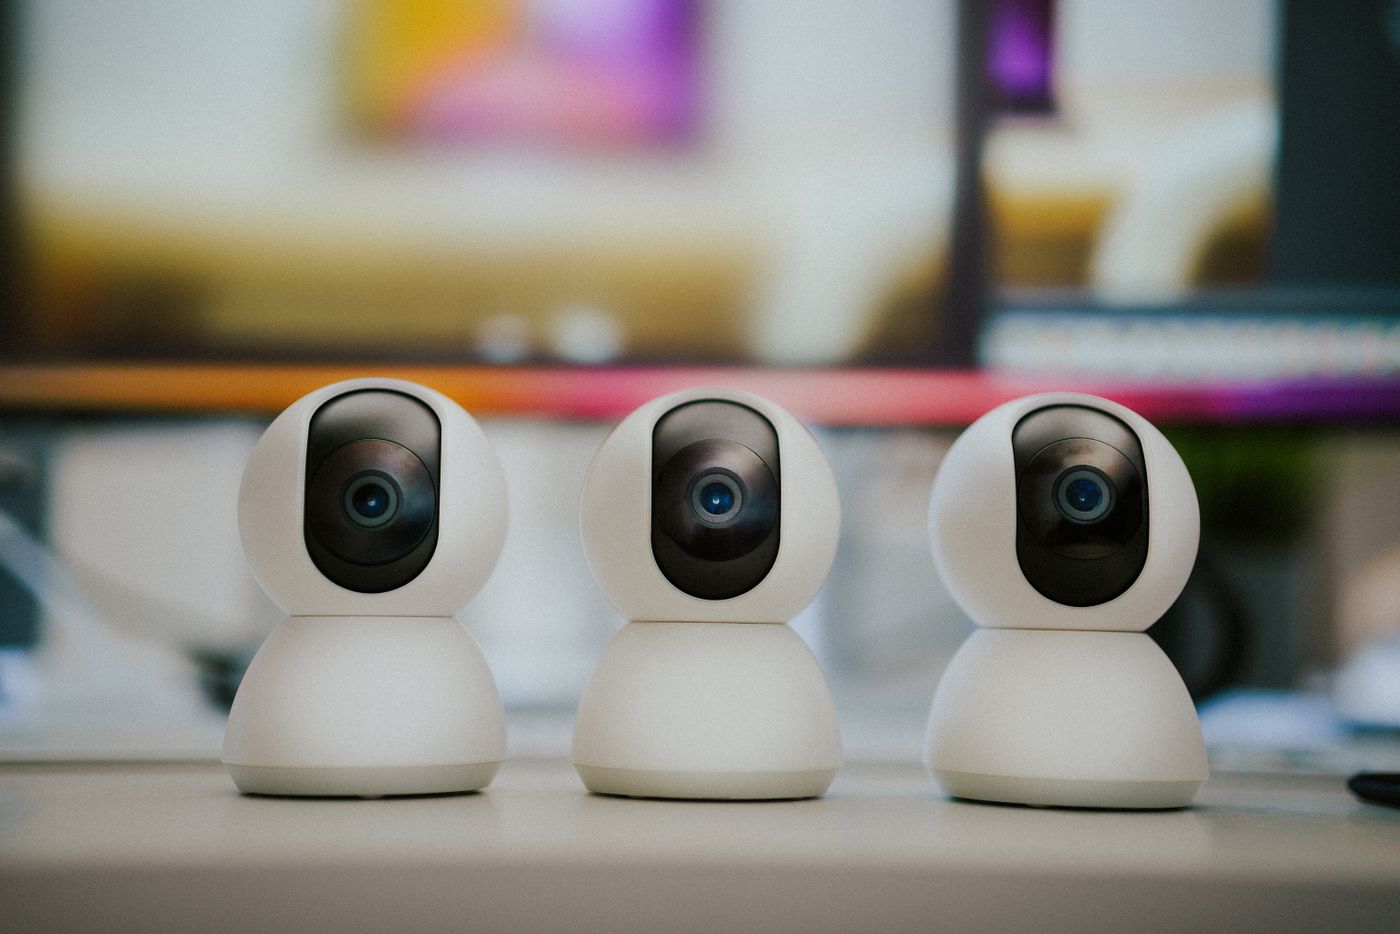
Smart security cameras arranged for home monitoring setup
Camera and sensor placement Test signal, field of view, alerts, and night performance before mounting permanently.
Security, Sensors & Monitoring

Position for coverage, not convenience.

Place cameras and sensors where they can see or detect the intended area without glare, obstructions, vibration, heat sources, or constant traffic. Confirm notifications and recording behavior before final installation.

Check live view and night vision Test motion and contact detection Confirm notification permissions Review storage or subscription settings Protect outdoor cable connections Save recovery and device codes
FOV
Placement rule Mount only after testing the real viewing angle, detection zone, signal strength, and power route from the intended location.
App & Network Pairing

Create a clean first connection.

Pairing works best when the product is charged, reset, close to the controlling device, and connected to the correct network.

Connection Sequence
Four pairing stages

Move from local connection to final placement.

01
Reset only when needed. Use the documented reset method and wait for the correct indicator pattern.
02
Enable required permissions. Bluetooth, local network, camera, location, microphone, and notifications may be required by product type.
03
Finish updates nearby. Keep the product connected to stable power and within range until firmware installation is complete.
04
Rename and organize. Use clear room and device names before creating groups, scenes, shortcuts, or voice commands.
Bluetooth Stay within a few feet during first pairing.
Wi-Fi Confirm the required network band and password.
USB / Wired Use a data-capable cable and correct port mode.
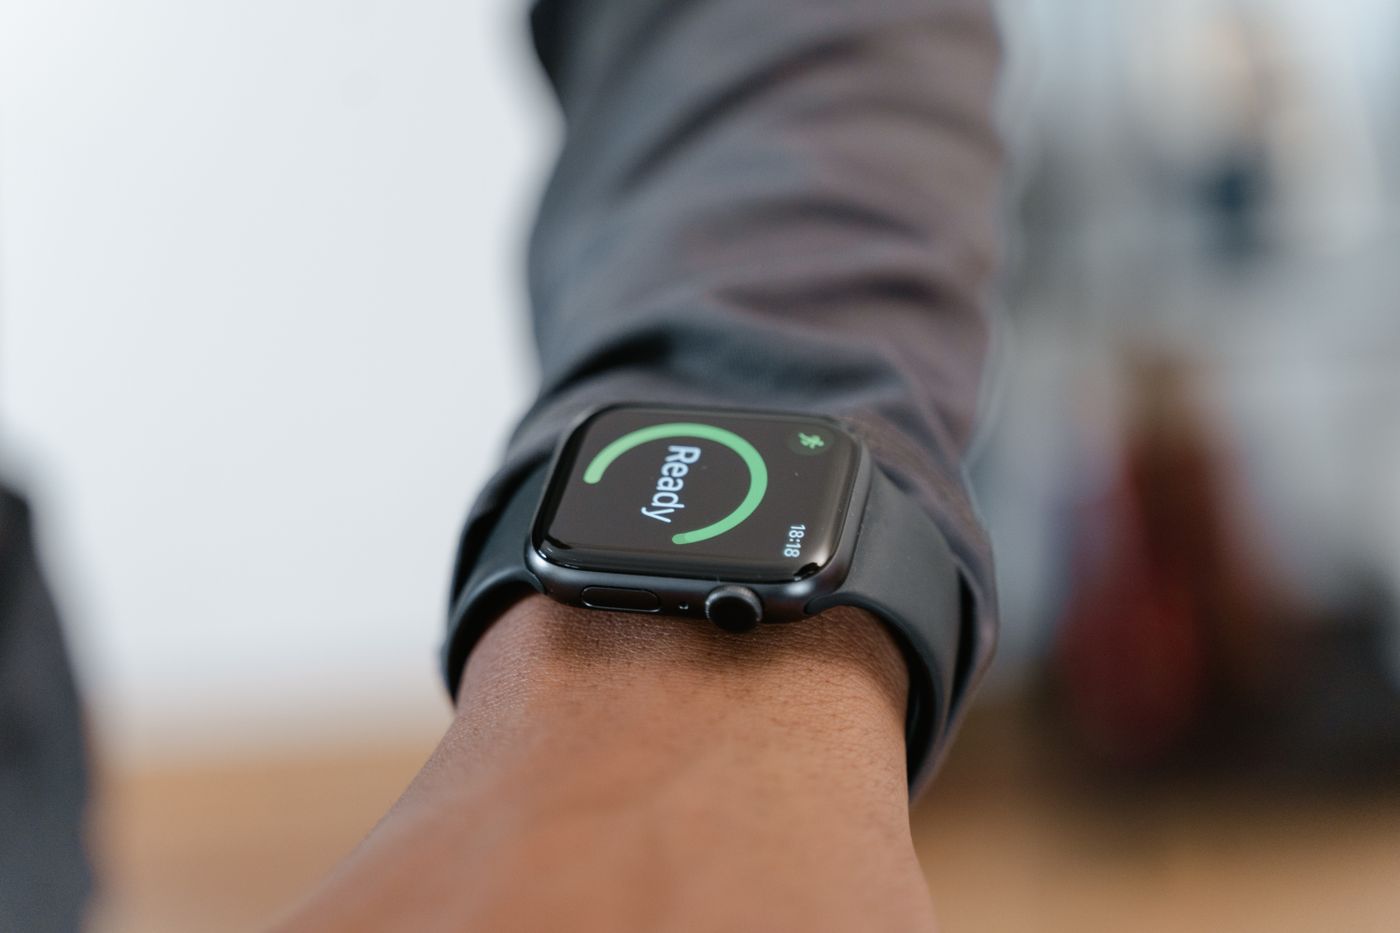
Person using a smartwatch during mobile device setup
Keep setup local Complete pairing and updates before moving the device to its final room or outdoor position.
Troubleshooting

Reset the connection, not the whole setup.

Start with power, distance, permissions, and the current connection path before performing a factory reset.

The product does not power on.

Try a known working outlet, adapter, cable, or USB port. Confirm that protective tabs are removed, the power switch is in the correct position, and the product has charged long enough to display an indicator.

The device does not appear in Bluetooth.

Confirm pairing mode, move the device closer, turn Bluetooth off and on, remove older entries with the same name, and restart both products. Some devices must be added inside their companion app instead of the system Bluetooth menu.

The smart home product will not join Wi-Fi.

Verify the required network band, re-enter the password, temporarily move the product closer to the router, disable mobile data during setup if necessary, and confirm that local network and location permissions are allowed.

Charging is slower than expected.

Check the output rating of the charger, cable capability, device charging standard, temperature, battery level, and whether other devices share the same power source. A lower-rated component will reduce charging speed.

Audio, video, or controls are unstable.

Reduce distance, remove wireless obstructions, close competing apps, reconnect the cable or receiver, install updates, and test with a second compatible device to identify whether the issue is the product, source, network, or accessory.

When should I perform a factory reset?

Use a factory reset after basic power, cable, network, permission, restart, and re-pairing checks fail, or when transferring the product to a new account. A reset may erase saved settings, automations, recordings, and device history.

Installation Support

Send the model and setup details.

For more accurate guidance, include the product name, order number, device model, phone or computer type, operating system, network type, indicator light behavior, and the exact step where setup stops.

Support Email support@smartion.lol
Support Phone +1 (714) 227-2230
Business Address 3390 Buenaventura Drive, Ceres, CA 95307, United States
Availability 24/7 customer support for product, order, setup, and installation questions.